More and more, the fragments of our lives are being transformed into digital data: memories captured in printed photographs become pixel pictures, treasured paper letters turn into electronic mails, movies that used to dwell on cassettes are available within online cinemas these days. We entrust our computers with vast amounts of precious data - be it our memories, sensitive data, or simply important business-related files... but we're never really bothered with all that data being lost - until it actually happens, having us caught without a backup.
Accidental deletion or intense power surge, hardware malfunctioning or system error, virus or malware activity, theft, damage inflicted by fire, water, or any other natural disaster - the list of potential data loss causes is nearly endless! Given that, regularly backing up your machine is always a good idea - whether you only use your computer for business, or store your whole life in it.
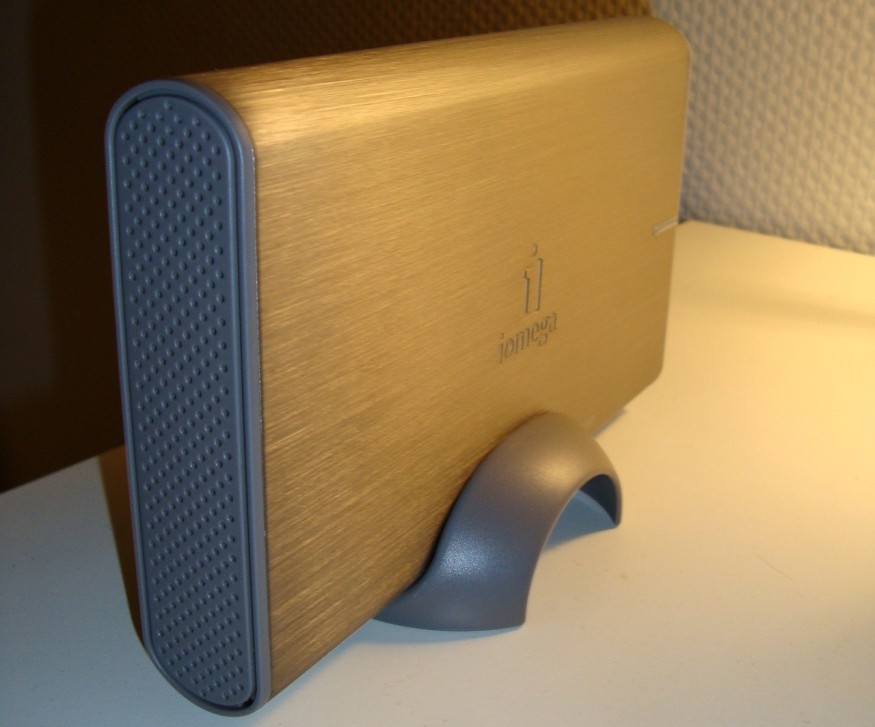
In this article, we are taking a step-by-step look at backing up your computer with the help of an external drive.
In Windows 7
In spite of the Windows 7 support ending on January 14, 2020 - meaning it's no longer getting security updates, - there's a decent amount of computer users worldwide still running the OS. Of course, it's hard to insist on 100% accurate numbers due to plenty people, for one reason or another, having the use of unlicensed version of the operating system; however, according to the most recent real-time traffic reports provided by the United States Government's Digital Analytics Program, roughly 200 million PCs are still running older Windows versions (mostly Windows 7), which is quite a lot.
Howbeit, here's a guide on in Windows 7 - for those courageous holdouts:
Step 1. Start off with typing Backup and Restore in the search bar; that's a built-in backup program designed for users to create an image of their system's data easily and conveniently. Once it is opened, find and select Set up backup option to create a new one in case you've never used it before.
If a backup task is already created, you can click Change settings to create a new file backup task, or Back up now to run it again.
Step 2. Select where you'd like to save the Windows 7 backup image to, and click Next.
Step 3. Tick Let me choose, then press Next again.
Step 4. Pick the files that you want to include in the backup; click Next when you're done.
Step 5. Thoroughly review the backup settings, then click Change schedule to customize the intervals of your backup.
All the above, however, will not backup files kept in the FAT file system, program files, and those stored in Temporary files folder on drives smaller than 1 GB and Recycle Bin. To copy all this data along with the Windows settings, transfer user accounts, documents, email, multimedia, etc., we will move on to Windows Easy Transfer.
Step 6. Input migwiz into the search bar and hit enter on migwiz program; click Next on the welcome window.
Step 7. Choose An external hard disk or USB flash drive option. In the following window, select This is my old computer.
Step 8. As soon as Windows Easy Transfer has all the files supported in Windows 7 checked, select the data you want to backup, and click Next.
Step 9. Create a robust password to protect that data, then click Save. Note that the Windows 7 backup image will be named "Items from old computer.MIG". Hit Next, and you will be prompted with the directory where the backup files are stored.
Step 10. Finally, go to the new Windows computer, and run Windows Easy Transfer in order to transfer those files to the new computer according to step 1-4; don't forget to change to This is my new computer in step 4.
Keep in mind, however, that there are some limitations of Windows Easy Transfer:
the program doesn't support migration from a 64-bit to a 32-bit system;
the program doesn't deal with program files. If you need to run the old programs to your new PC, you'll be required to reinstall them;
the process may be really time-consuming in the case of a large amount of data for transmission;
Windows Easy Transfer isn't supported in Windows 10 by default.
In Windows 10 / 8.1
The image backup feature in Windows 10 (and Windows 8.1) is surely more convenient. It allows you to create a full backup of your machine, including operating system, settings, programs, apps, and your personal data.
The major benefit of it is that the feature can be used to restore an entire system image in case a hardware failure or software error occurs; the drawback, on the other hand, is that you cannot use it to restore individual files.
Step 1. Type Control Panel in the search bar and then hit enter.
Step 2. Then, click Save backup copies of your files with File History in System and Security (at the bottom left of the screen).
Step 3. Press the button Create a system image.
Step 4. Select your hard drive, and click Next.
Step 5. Finally, click the Start backup button to initiate the backup process
The backup wizard may take from a few minutes to several hours, depending on the speed of your hard disk, and the amount of data that you need to get backed up.
On MacOS
On Mac, there's a built-in backup feature designed to take care of user's data, namely Time Machine. Ifn case the original files are ever lost from your Mac, or if the HDD/SSD in your device is erased or replaced, you can easily restore the data (including apps, email, documents, multimedia, and system files) for it's being automatically backed up.
Step 1. First, connect an external storage device to your Mac via USB, FireWire, or Thunderbolt (or even using an AirPort Time Capsule) - depending on your drive; directly connected external drives, however, are noticeably faster.
Also, keep in mind that, by default, Time Machine will use up all the space available on the storage media. If you'd like to use some of it for storing other data, you are required to partition the storage device into two volumes: one for the Time Machine backups, and one for your personal files. To perform partition, go to Applications, then select Utilities.
Step 2. Once your storage media is plugged in, go to System Preferences, find Time Machine and toggle the switch from Off to On. After that, click the Select Disk... button to choose the drive or volume you want to use for Time Machine.
Step 3. Optionally, you are allowed to exclude items, or get notified of old backup deletions.
Step 4. Finally, let Time Machine do its work.
Now, with those options selected, backups will happen automatically every hour. Also, Time Machine keeps Hourly backups (for the past 24 hours), Daily backups (for the past month), and Weekly backups (for all previous months).
Wrapping It Up
As you can see, today there are plenty of convenient options for setting up automated backups offered by both manufacturing companies themselves, and third-party providers.
Then again, if you are ever caught without a backup, or something bad happens to your data storage media - remember that Salvagedata is always there for you! We provide highly professional data recovery services for more than 10, using professional, proprietary data recovery software to make sure you won't lose a single file. In addition, we are glad to provide you with a free examination of your device - so don't hesitate to contact Salvagedata today, and let us do the rest!
© 2026 ScienceTimes.com All rights reserved. Do not reproduce without permission. The window to the world of Science Times.


